

How To Remove Ps4 Warranty Stickers
How to clean a PS4 without breaking it
It's not a bad idea to acquire how to clean a PS4 if y'all own one of these consoles.
A lot of us all the same have yet to have advantage of the PS5 restocks, which means we continue to play some of the best PS4 games on our trusted panel. The trouble is, with everyday apply, grit will inevitably collect both exterior and inside of the casing and this can be very catchy to remove. You can't leave it as it is though — a build-up of grit will pb to your PS4 overheating, which can cause serious frustration in the center of a game.
Cleaning the dust out of a PS4 has somewhat of a reputation for its difficulty, and for practiced reason. This is by no means a simple process unless you know what you're doing; one wrong motion and your PS4 may not run properly when you start it up over again. The good news is cleaning a PS4 is straightforward with a trivial guidance. Hither, we take you lot through exactly what you need to do step-by-step so y'all tin can become your PS4 running as practiced equally new.
How to clean a PS4
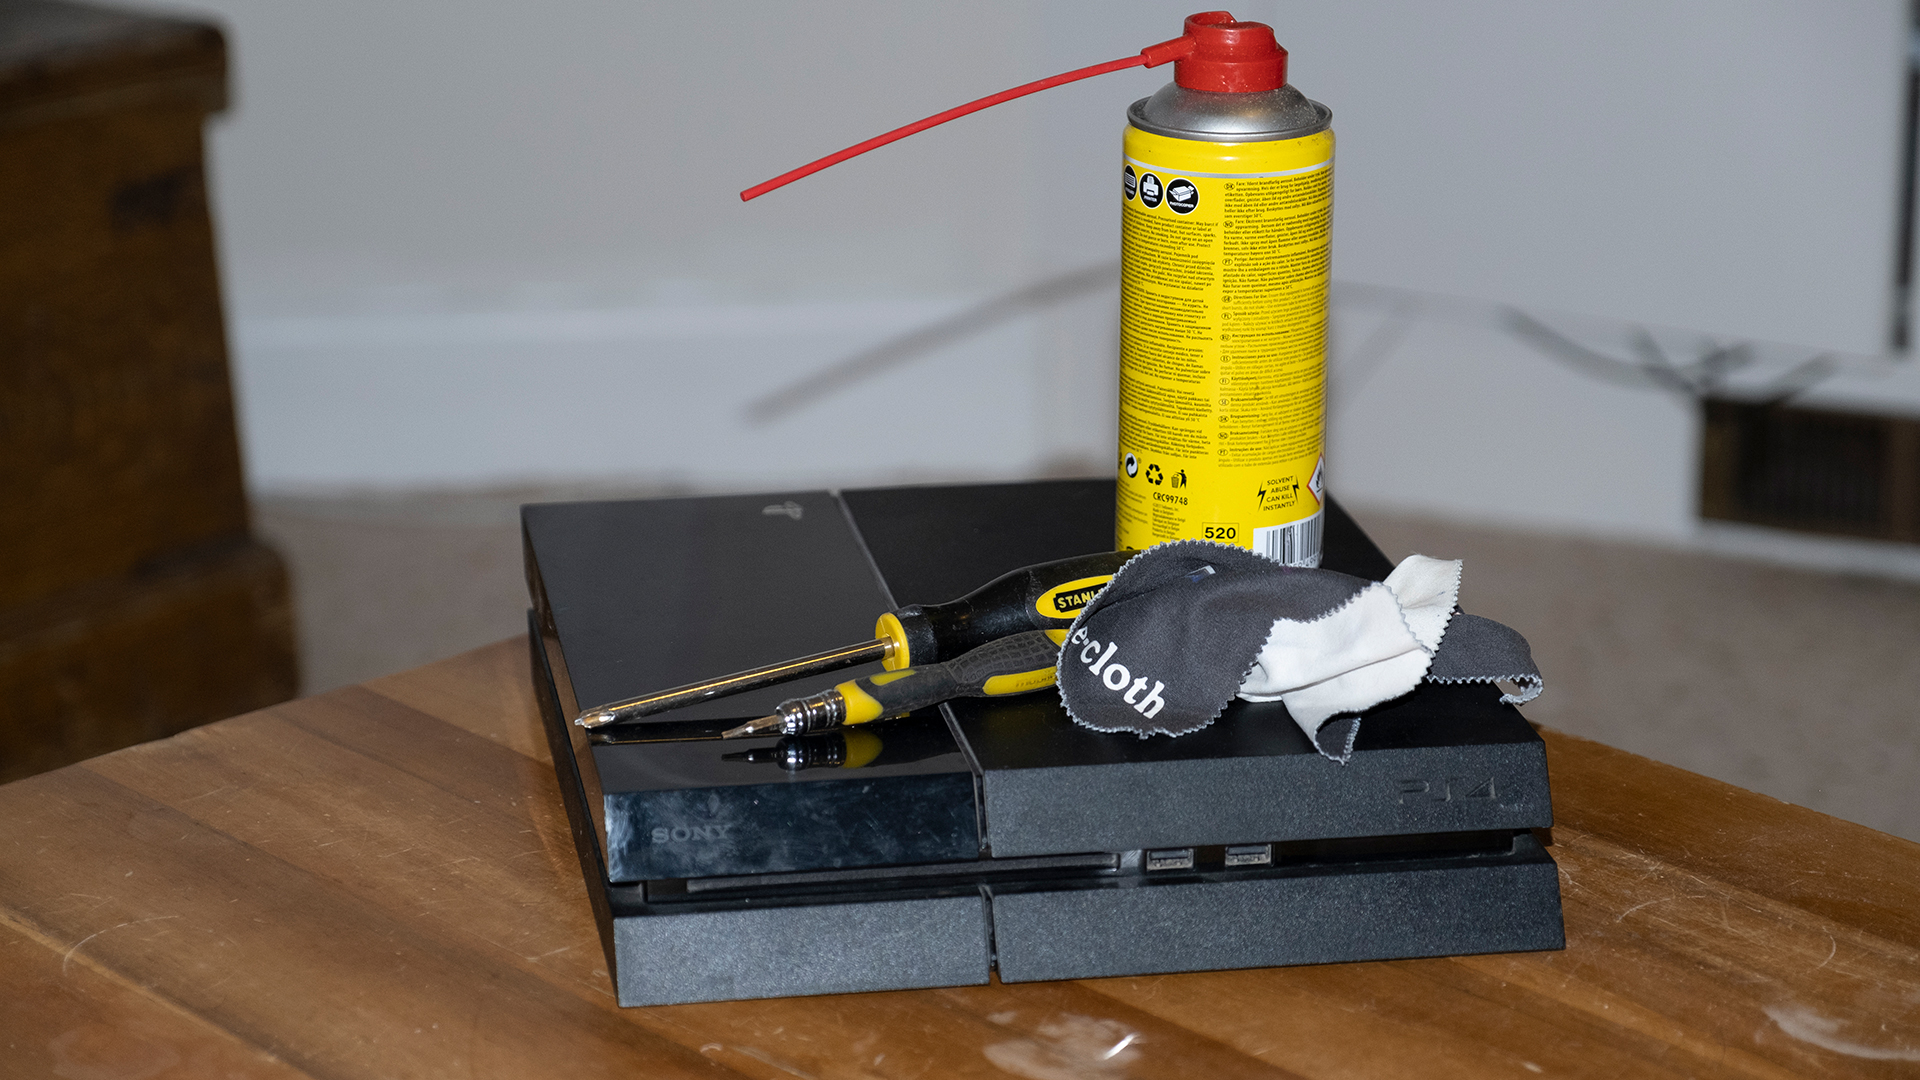
What you'll demand
Microfiber cloth
Compressed air
T8 or T9 screwdriver
Phillips screwdriver
A cotton swab
Earlier nosotros take you through the steps, it'due south worth flagging that every bit soon as you starting time dismantling your PS4 to make clean the interior, you will void the warranty. And then, if your PS4 is overheating within the warranty menses (normally a year), contact customer service rather than cleaning information technology yourself.
You likewise demand to be aware that the steps are different depending on whether you have an original PS4, a PS4 Slim or a PS4 Pro. And to further complicate matters, in that location's a second version of the original PS4 that was made afterward September 2015 and which is slightly dissimilar again. The photos here are for the commencement original model, but we've indicated where the steps differ for the others.
one. First, make certain that your PS4 is switched off and all cables are disconnected from the console's body.
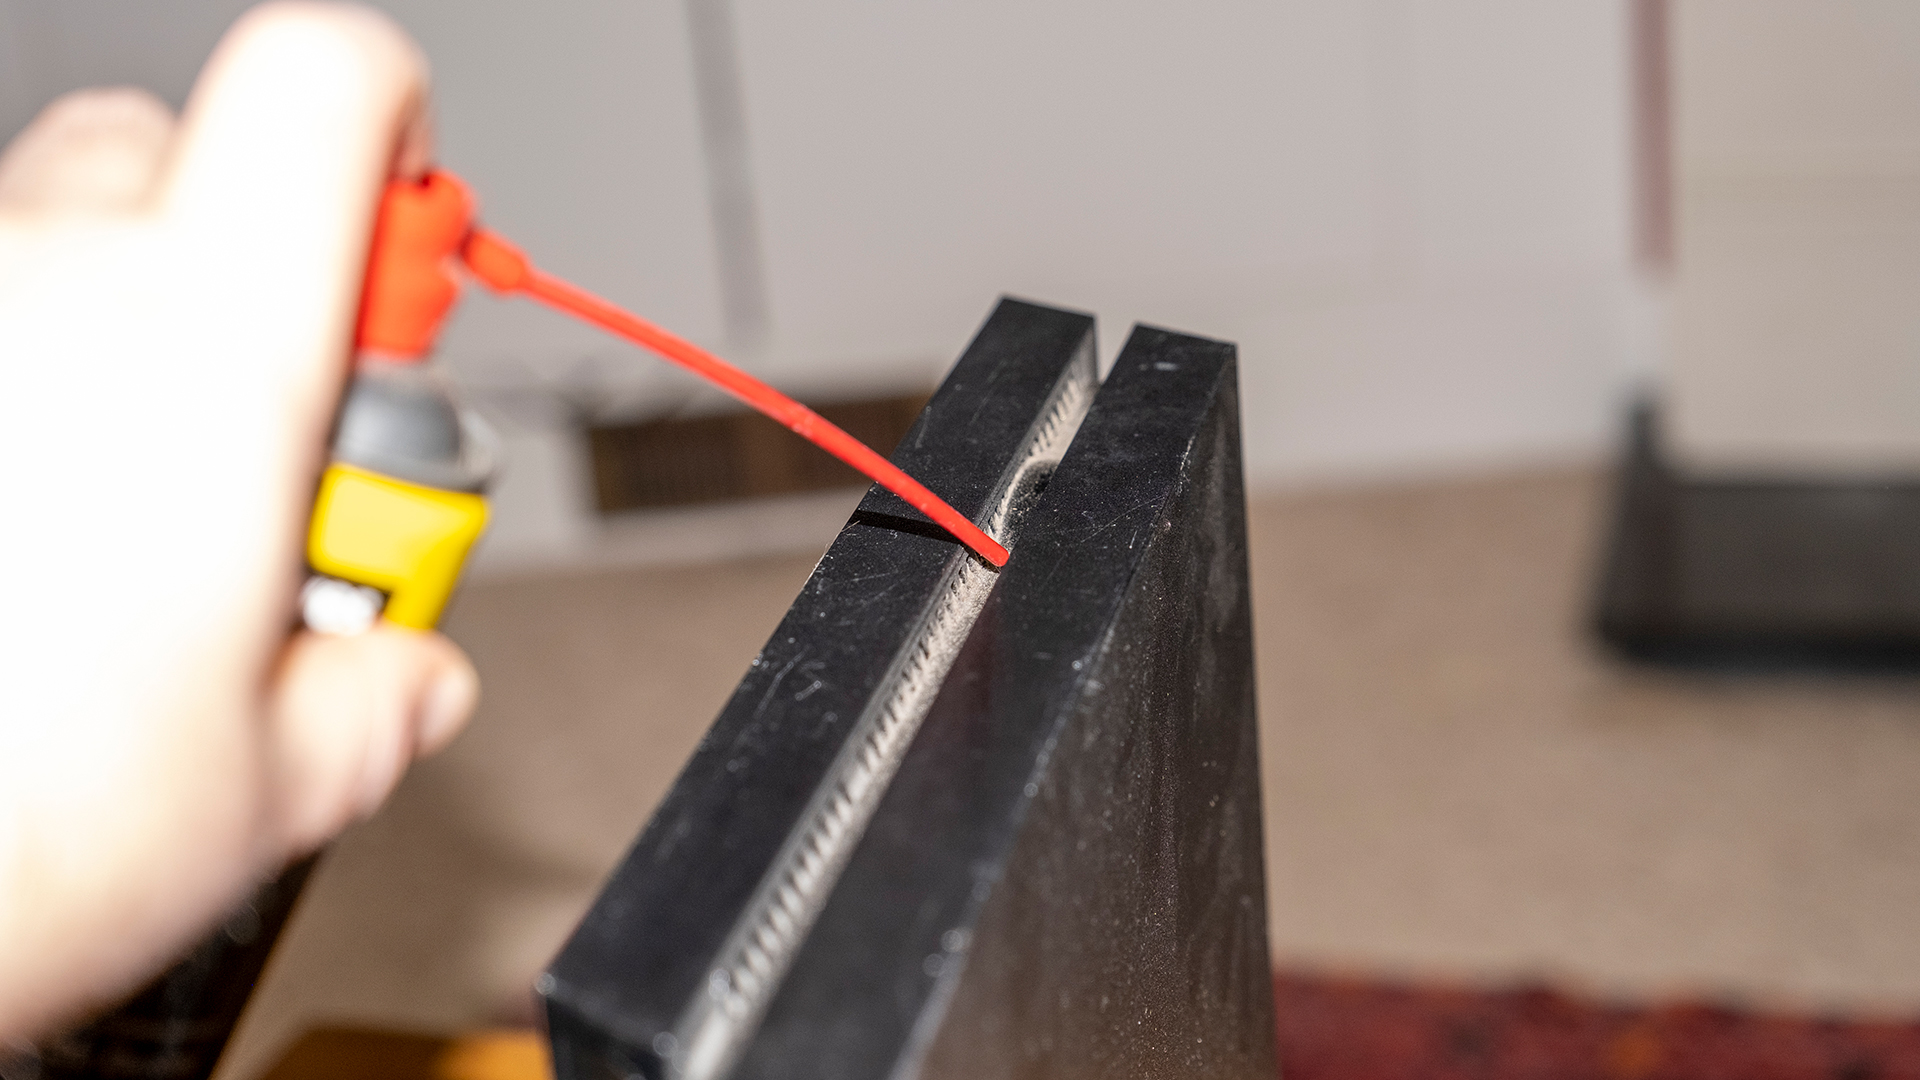
2. Next, yous desire to clean the outside of your PS4. To do this, take your tin of compressed air and spay bursts of air into each of the ports, front and back, besides every bit the vents. Brand sure you keep the can upright equally you spray and continue your altitude then you don't spray wet into the PS4. If you don't own a can of compressed air, we recommend Falcon Dust, Off Compressed Gas ($7.99, Amazon (opens in new tab)).
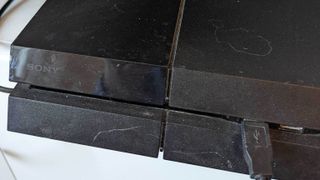
3. Adjacent, run a dry microfiber fabric along the surfaces of your PS4 to get rid of obvious dust. While you take this material to paw, wipe the surface and around the area where your PS4 sits besides. This clears away any potential grit your PS4 may collect once back in identify.
4. Now comes the tricky part: cleaning the internals. First make certain you've cleared some space and take a skillful source of light to see what you're doing.
5. If this is your first time cleaning your PS4, and you have an original PS4, y'all're going to need to remove the warranty stickers from the rear, not least because you'll also need to remove the screws beneath them. Call up, if information technology's still under warranty, contact customer services rather than cleaning the internals yourself. If it's still under warranty, information technology shouldn't demand cleaning.
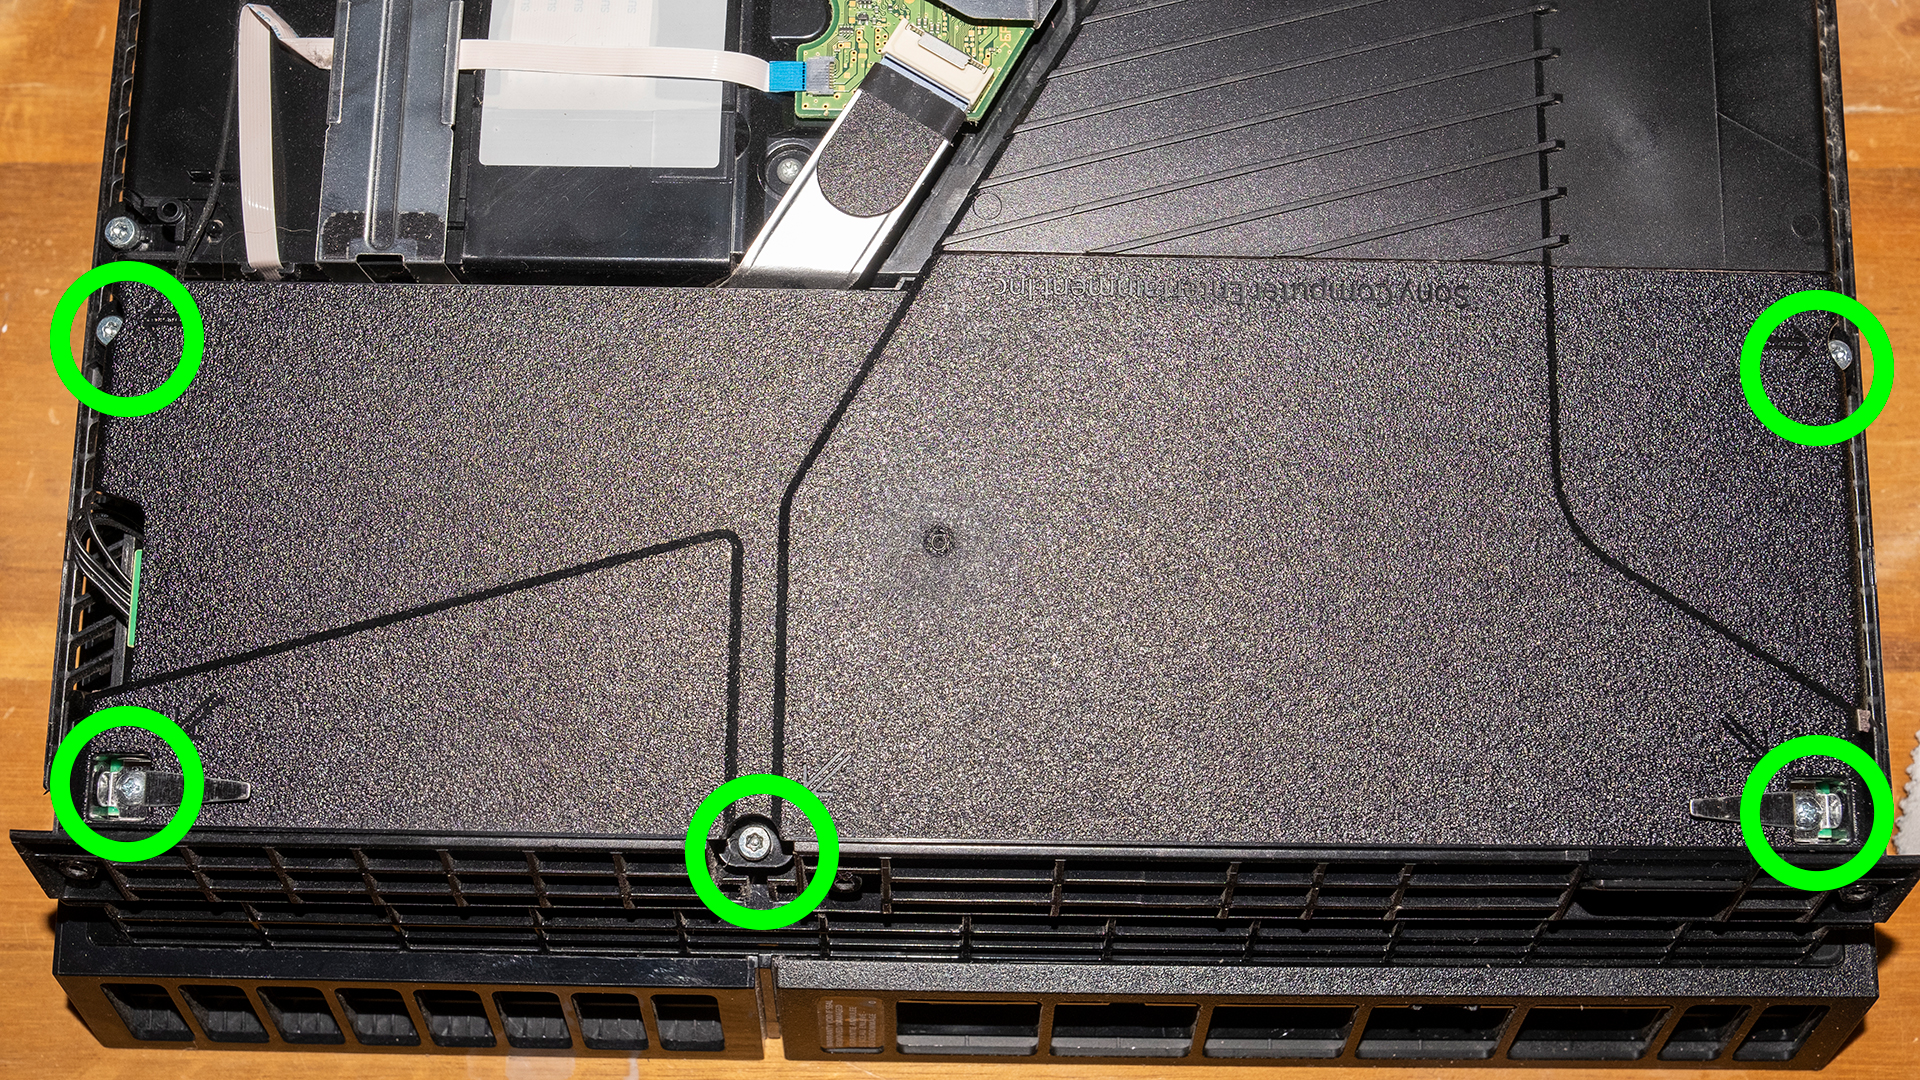
vi. If you have an original PS4 as pictured here, you should notice four screws on the rear of the panel, below the warranty stickers. These concur the outer case in place, so unscrew these using a T8 or T9 Torx screwdriver — nosotros recommend Teckman ($vi.59, Amazon (opens in new tab)). Then safely keep them together and set them aside.
If y'all have a later original PS4, in that location'south just 1 sticker and one screw. If you take a PS4 Slim or PS4 Pro, in that location are no screws.

7. If you have either of the original PS4s, y'all'll need to turn the PS4 upside downwardly and then it'southward resting on its top. You lot should now be able to remove the base of the console by pulling the corners and edges away; this might take a lilliputian work, but don't force it.
For PS4 Slim and PS4 Slim, keep the console the correct way up and gently slide off the outer casing from the front of the console.

8. Before setting the instance aside, carefully wipe any dust abroad from its within using your microfiber material.
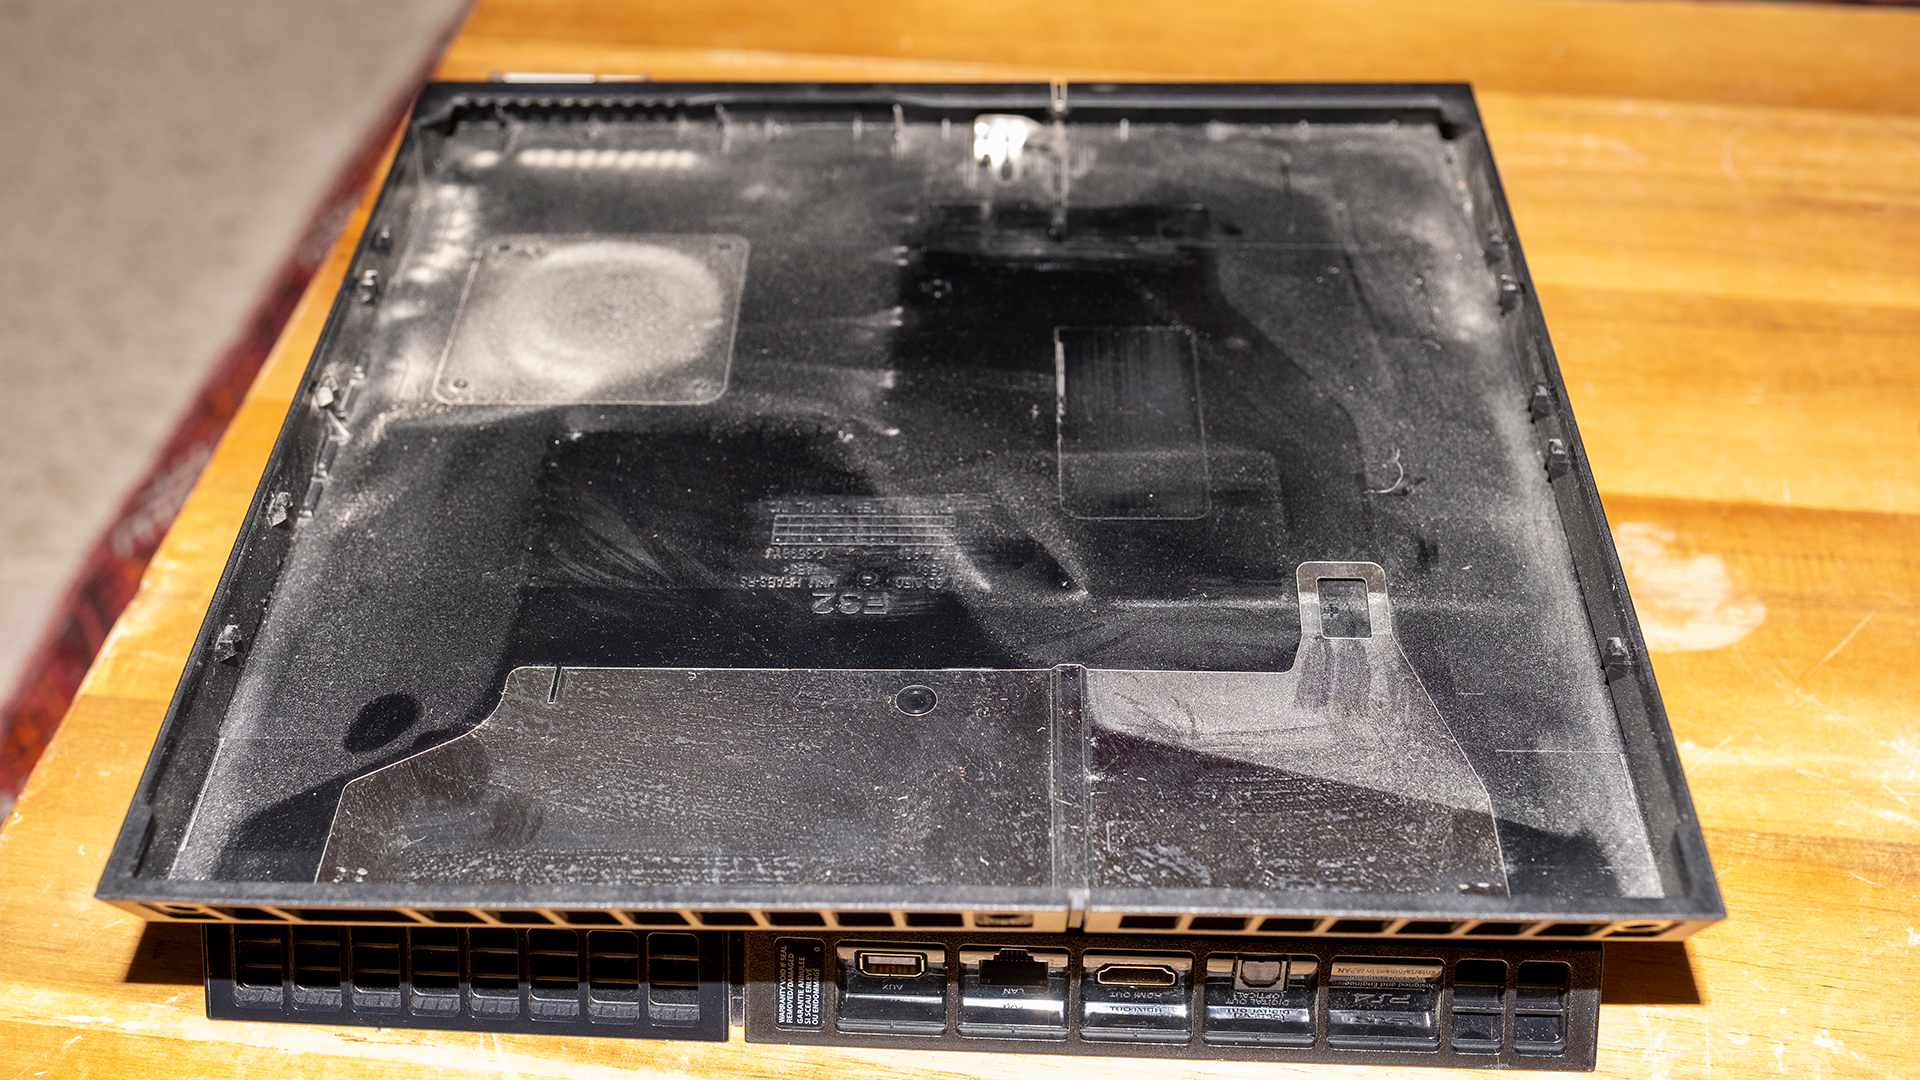
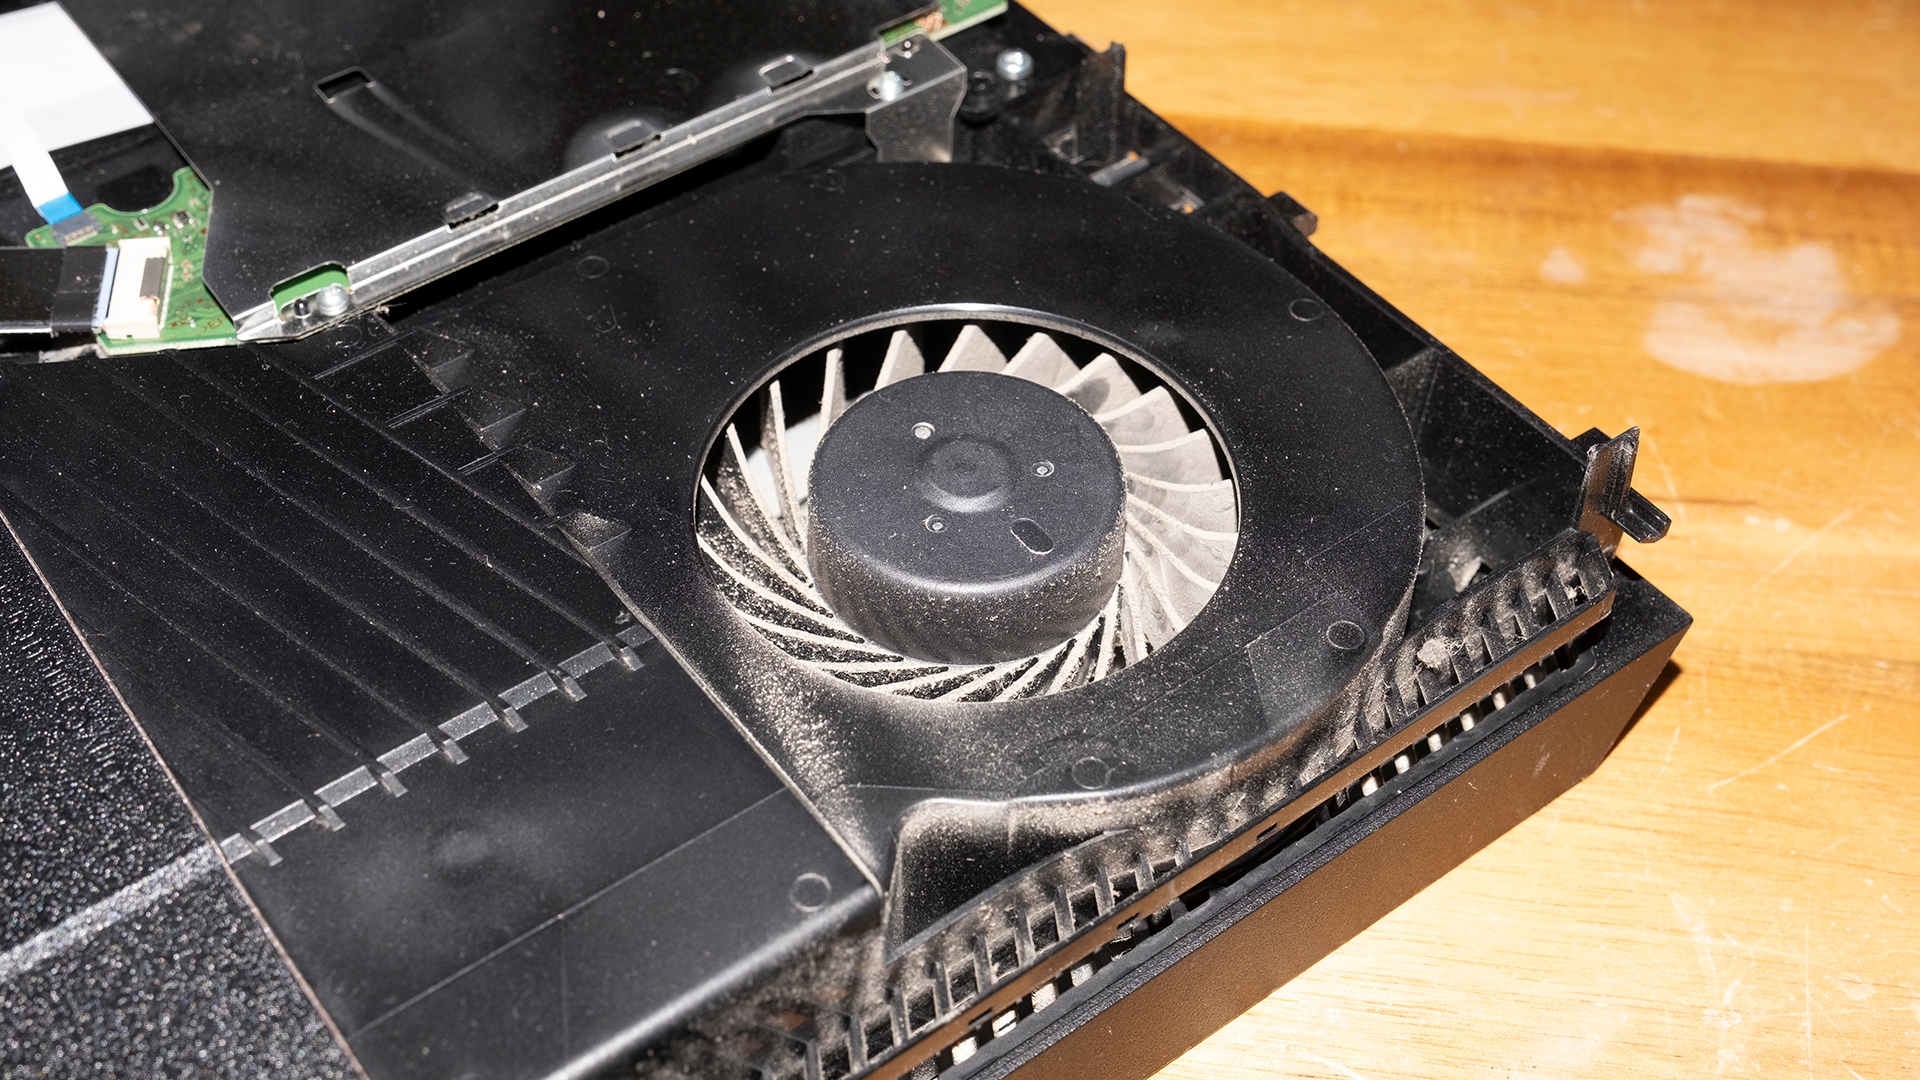
9. If you own a later version of the PS4, you should at present exist looking at a large metal plate from the top. If you own an original panel, yous'll be looking at the base of operations and will run across a combination of plastic casing and the power supply, with the fan visible.
10. Gently place your finger on the eye of the fan to keep it in place, and then spray a couple of brusk bursts from the compressed air into the fan to dislodge dust. Information technology'south important that you go along the fan in identify during this process, equally forcing it to spin can harm the hardware.
11. For the PS4 Slim and Pro, you'll need to use a Phillips screwdriver to remove the plastic example covering the metal plate at the back of the console. This should betrayal the smaller metal plate. Remove this too using your T8 or T9 screwdriver.
12. Now you lot should be looking at the total metal plate covering the majority of the surface. Remove the screws holding this in identify and carefully lift abroad.
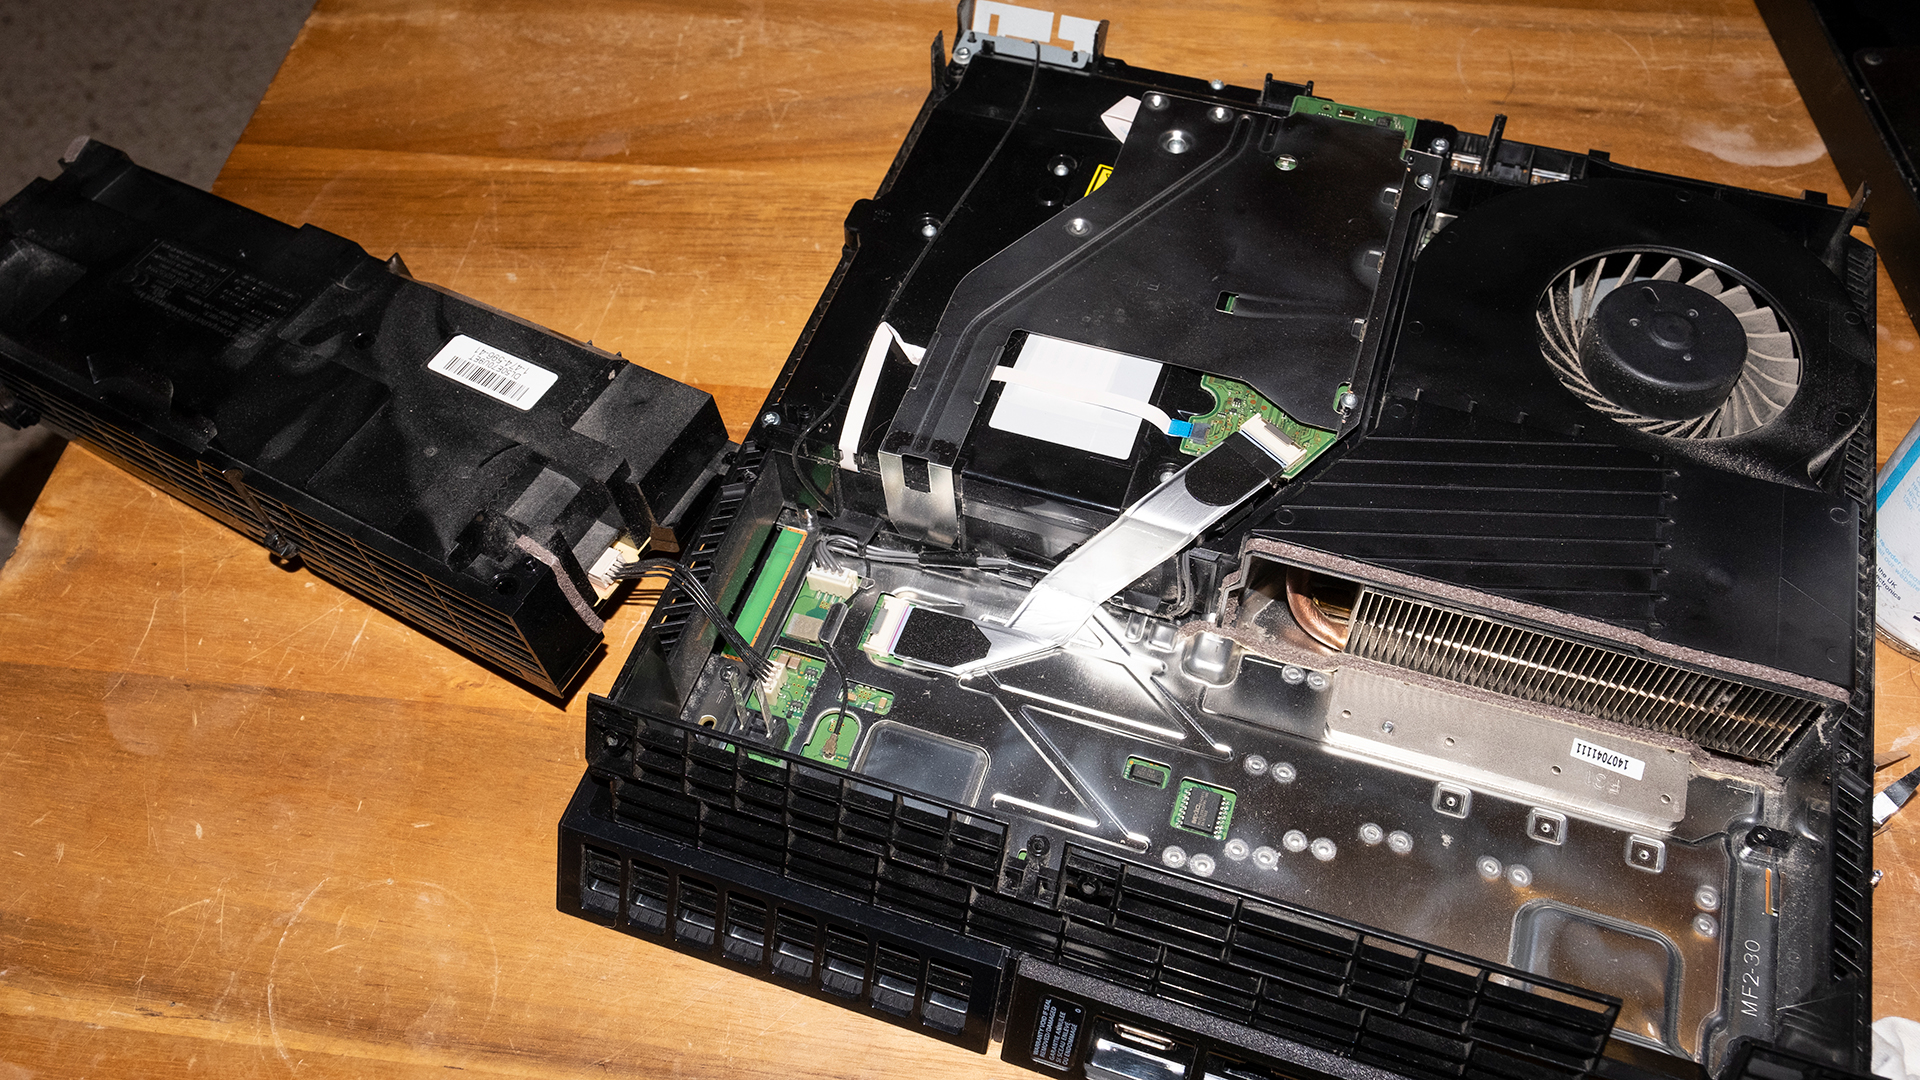
xiii. If you own an original PS4 panel, you're going to have to remove the power supply to fully admission the internals. Just remove the five screws equally pictured (they're in slightly different place on the later version), gently lift it out and set information technology safely aside, being sure not to disconnect the power cablevision.
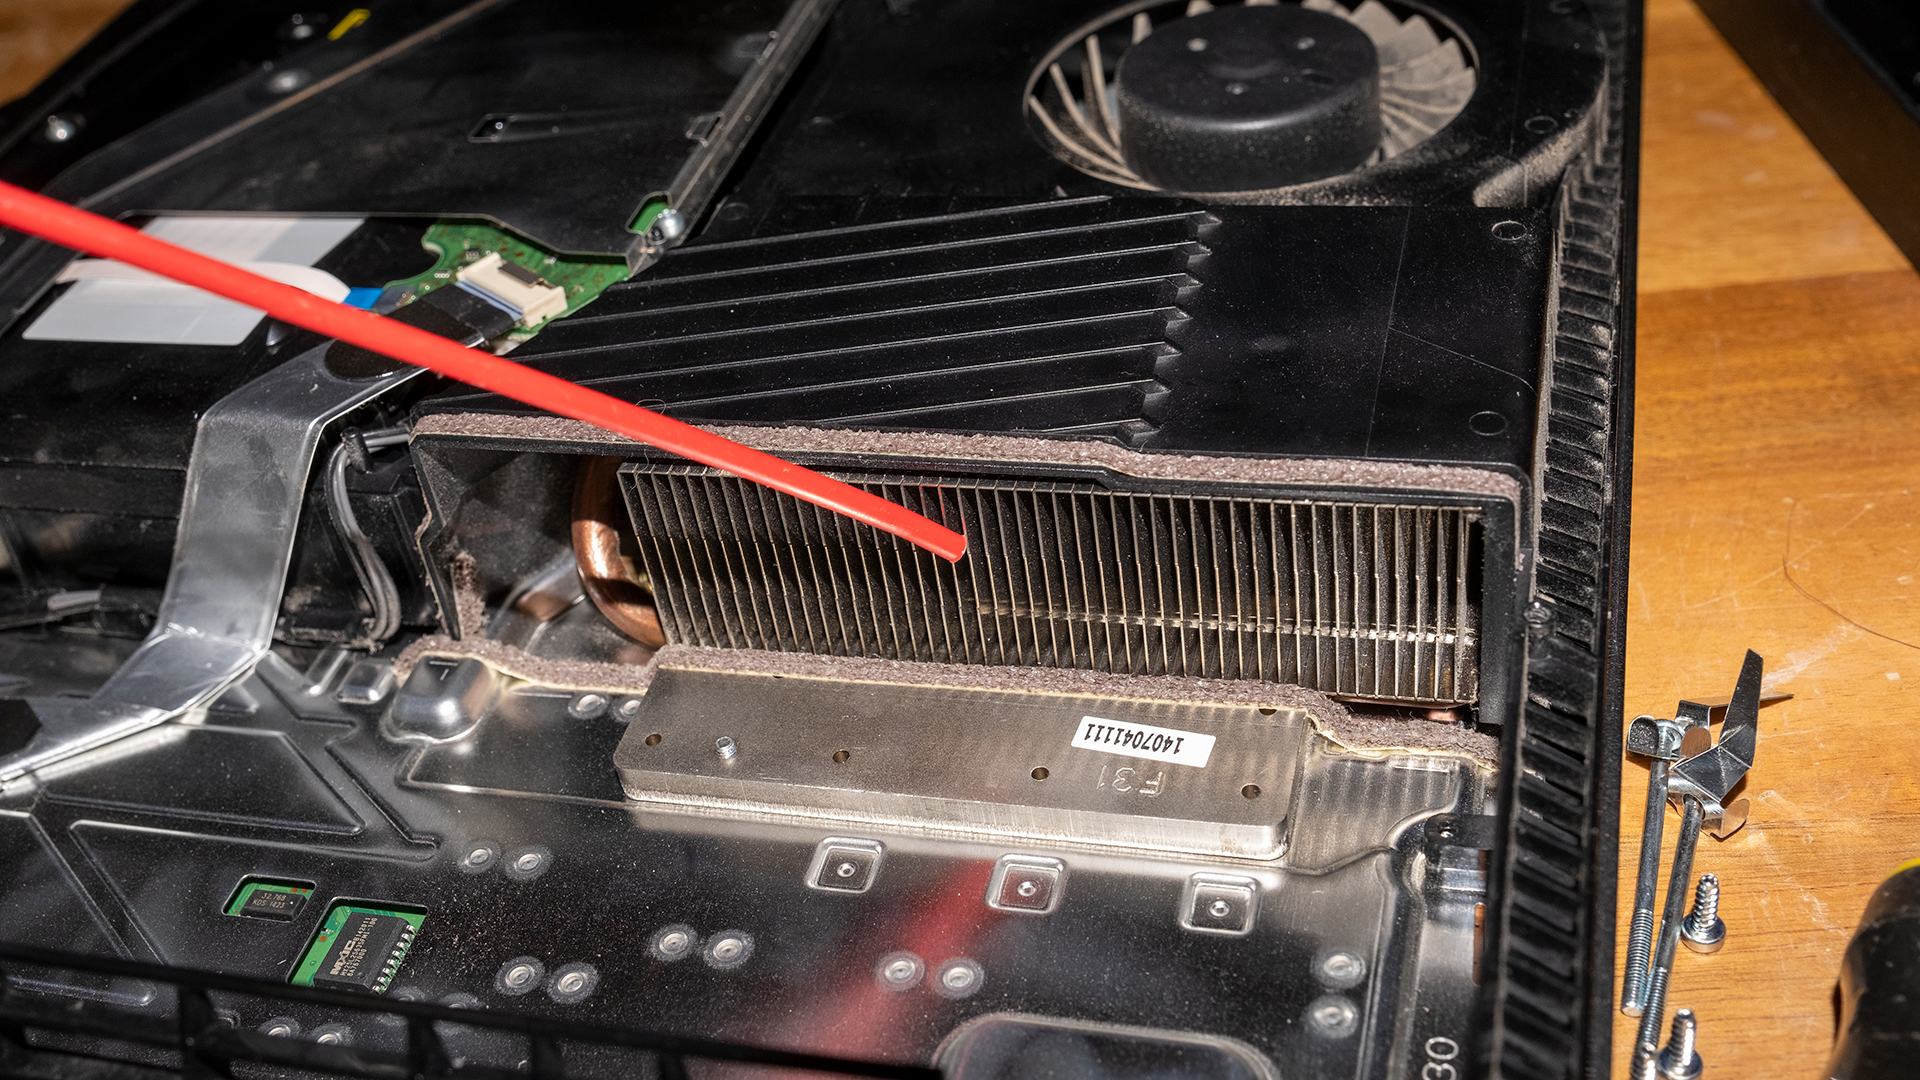
14. Whichever console you accept, you should at present be able to see the inside of your fan and the full internals. Use compressed air to advisedly and gently spritz dust away in short bursts from the components, although be sure to temporarily social club something in the fan, such as a cotton swab, to prevent it from turning. Try to aim the air and then every bit to blow dust up and out of the fan and components. Aiming into the heatsink is as well a good thought (the grille you tin can see exposed in the below photograph).
fifteen. Exit the console to air-dry for nearly an hour before reassembling.
And at that place y'all have it, your PS4 should run much more than smoothly and quietly. Don't forget to clean the surface area it sits in regularly to stop dust from building upwards as speedily.
How to clean a PS4 controller
Thankfully, cleaning a PS4 controller is much more simple. First, disconnect any cables, and then blow compressed air all over the controller to remove any immediate dust. Exist sure to reach into bad-mannered areas such as the ports and around the analogue sticks. Then wipe it over using a dry microfiber cloth. If it's especially sticky or stained, you tin dampen the fabric, only make certain to avoid the ports so moisture doesn't get into the internals. Get out it to fully dry earlier reusing.
When should I make clean my PS4?
Yous should clean your PS4 when it's out of warranty and is showing signs that information technology's total of dust. This includes noise from the fan, overheating and eventual hardware failure. That'southward why information technology's of import that yous take time to requite your PS4 some TLC every so often. At that place's no specific guidance on how often to make clean it, just equally and when necessary. Although ane clean should final at least a year.
Can I clean a PS4 myself?
You absolutely can, but be enlightened that if your PS4 is still under warranty, you will void information technology by cleaning the internals. A PS4 shouldn't take gathered enough grit to require cleaning while it's nonetheless under warranty, so contact customer service instead to go it looked at. If you're besides nervous to clean your PS4 yourself, you lot can attempt asking local repair shops if they're willing to do information technology for you.
Can you clean a PS4 without taking information technology apart?
You can clean immediate dust from the surface and ports of your PS4 every bit well as your controllers. However, if dust has built-up within the console, and is causing it to overheat, it needs taking apart to clear information technology out.
Source: https://www.tomsguide.com/how-to/how-to-clean-a-ps4
0 Response to "How To Remove Ps4 Warranty Stickers"
Post a Comment